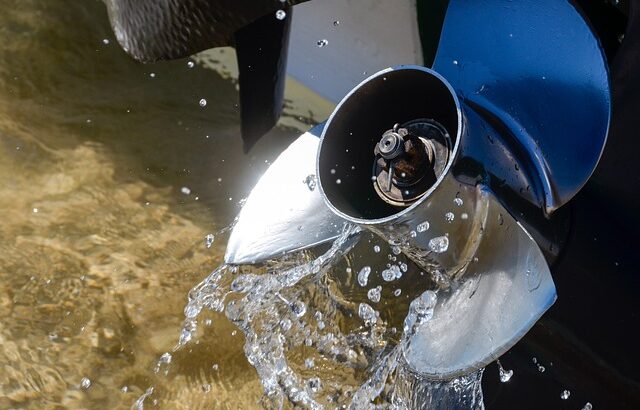
How to Self-Replacement a Used Propeller on an Inboard Boat Motor and How to Replace it on an Outboard Boat Motor?
A boat motor is the cornerstone for any water sports and fishing enthusiast. It provides us with the means to navigate on water, making it crucial to care for and maintain it properly. One aspect of maintenance is the replacement of the propeller, which is necessary in case of damage or wear.
Why is it important to maintain the propeller in good condition?
The propeller is a crucial component of a boat motor, influencing its performance and efficiency. If the propeller is damaged or worn, it can lead to a decrease in motor performance, increased fuel consumption, and even damage to the motor itself. Therefore, it’s important to regularly inspect the condition of the propeller and replace it when necessary.
How to Replace a Propeller on an Inboard Boat Motor?
1. Identify the correct propeller type:
Before replacing the propeller, it’s important to verify the correct type and size of propeller your motor requires. This information should be provided in the manual of your motor.
2. Turn off the engine and lift the boat:
Before starting the propeller replacement, turn off the engine and lift the boat using a lifting mechanism or hoists.
3. Remove nuts and take off the old propeller:
Use appropriate tools to remove the nuts holding the propeller in place, and take off the old propeller. Make sure to inspect the propeller shaft for any signs of damage or wear.
4. Install the new propeller:
Place the new propeller onto the shaft and push it into place. Ensure it is properly centered.
5. Insert nuts and tighten:
Screw the nuts back onto the shaft and tighten them using appropriate tools. Make sure they are securely fastened, but avoid over-tightening to prevent affecting the propeller’s performance.
6. Check all connections:
After completing the propeller replacement, check all connections and ensure they are tightly secured.
How to Replace a Propeller on an Outboard Boat Motor?
Replacing a propeller on an outboard boat motor may vary depending on the type and model of the motor. Here are general steps you can follow:
1. Remove the boat from the water:
Before starting the propeller replacement, remove the boat from the water and place it on a stable and safe surface.
2. Remove nuts and take off the old propeller:
Use the appropriate tool to unscrew the nuts and take off the old propeller.
3. Install the new propeller:
Place the new propeller onto the shaft and ensure it is properly aligned and centered.
4. Insert nuts and tighten:
Screw the nuts back onto the shaft and tighten them securely, but avoid over-tightening.
5. Check all connections:
After completing the propeller replacement, double-check all connections to ensure they are tightly secured.
Conclusion
Replacing a propeller on a boat motor is an important maintenance task that ensures optimal performance and safety of your motor. By following proper procedures and safety measures, you can successfully perform this task on your own. Always remember to follow manufacturer’s guidelines for your motor, and in case of any doubts, consult a professional service technician.
Also visit our other websites focused on:
